
In this guide, we’ll install the official Cisco AnyConnect app, Add your ChitaVPN server addresses, and connect easily.
Download and Install the App
To get started with Cisco AnyConnect on your Windows, follow these steps:
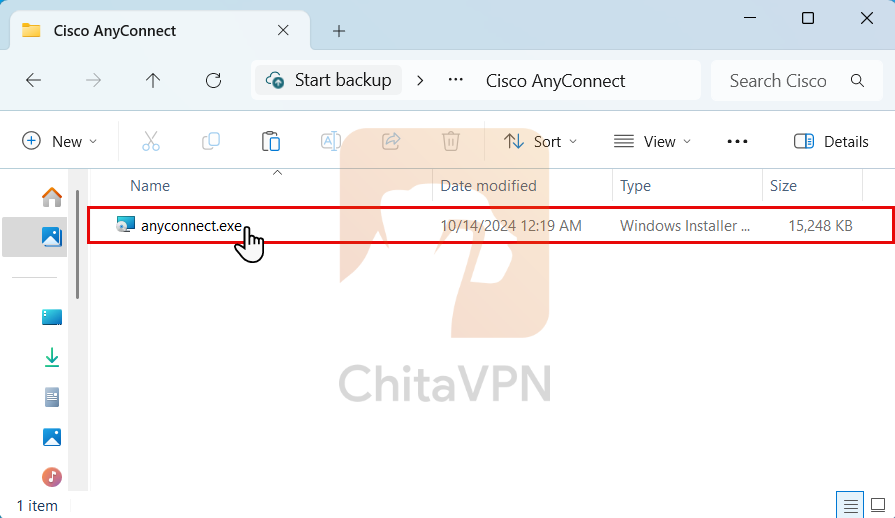
1. Click "Here" to download the Cisco AnyConnect setup file for Windows, then double-click on the downloaded (EXE) file to begin the installation process.
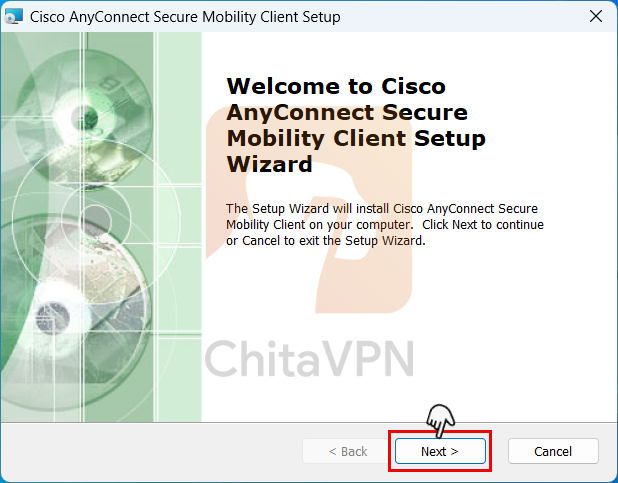
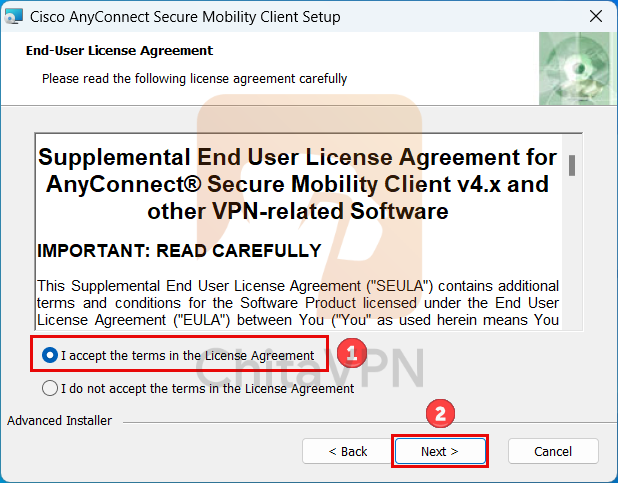
2. Click on the "Next" button and Click on "Accept the terms" option and then again press the "NEXT" to follow the installation.
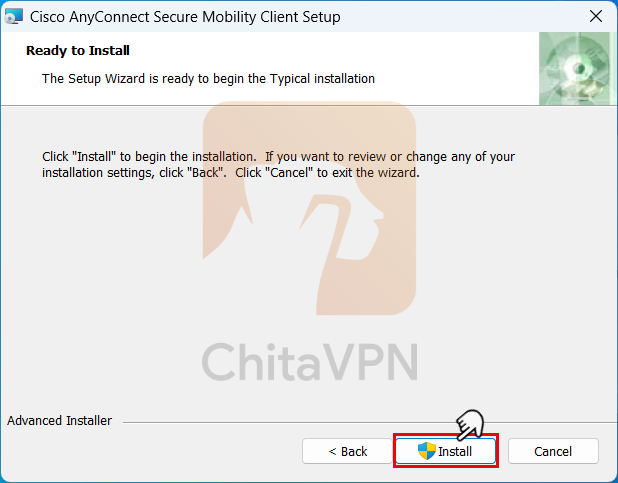
3. Click on "Install" and wait for the installation process to complete.
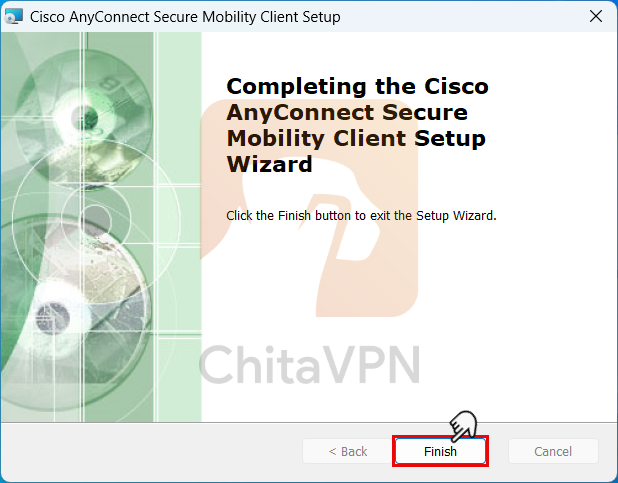
4. Once the installation is complete, click on the "Finish" button and finish the Cisco AnyConnect installation process.
Add VPN Profile and Connect
To connect to Cisco AnyConnect, you need a ChitaVPN subscription. Sign up now!
1. To open the app, Click on the search bar, type "Cisco AnyConnect" in the search field, then click on the app and launch it.

2. When the app opens, enter the ChitaVPN server address in the empty field and click the "Connect" button.

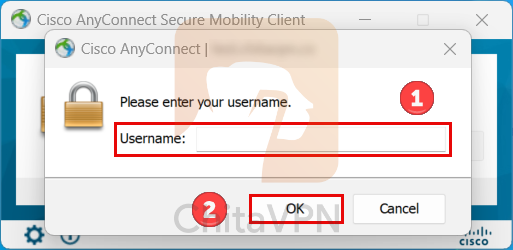
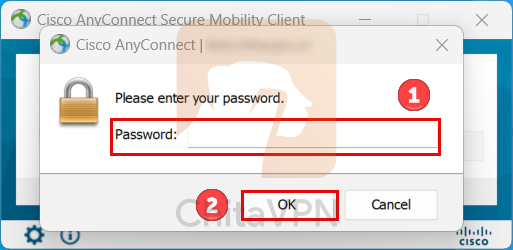
3. Enter your username and click "OK." Then, enter your password and click "OK" again.
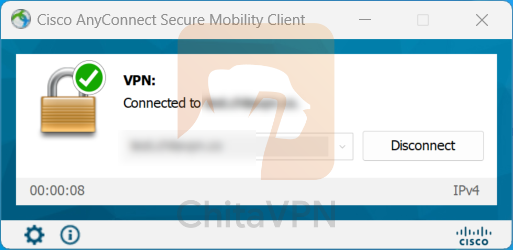
4. When you see this screen, it means you are successfully "Connected" to the ChitaVPN servers.
Congratulations, you’re now connected to ChitaVPN via Cisco AnyConnect! We hope this guide was helpful.
For more tutorials and to explore our full range of secure VPN solutions, visit ChitaVPN today. Stay connected, stay secure, and check out our helpful guides and products designed to keep you safe online!
