
This guide will show you how to install Cisco AnyConnect, connect to ChitaVPN, and enjoy a secure, seamless browsing experience.
Download and Install the App
To get started with Cisco AnyConnect on your Android, follow these steps:
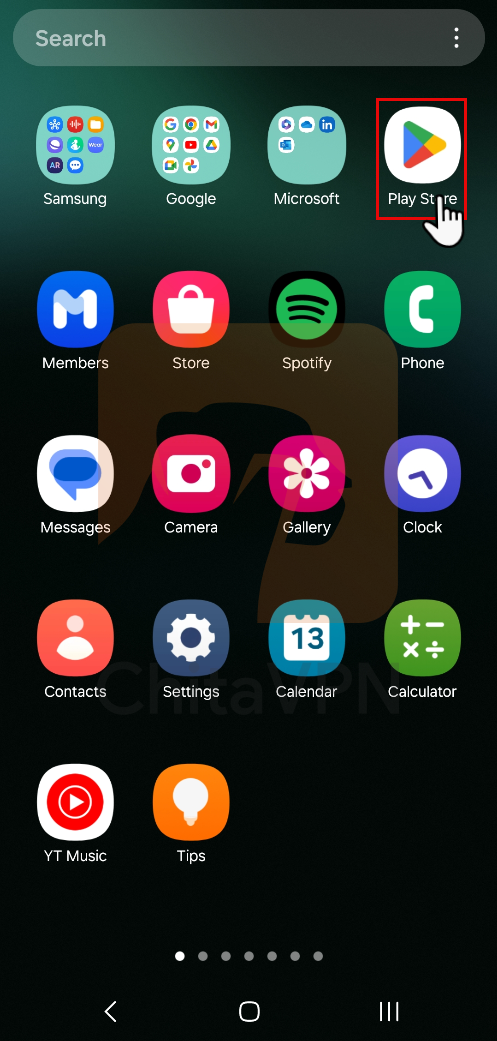
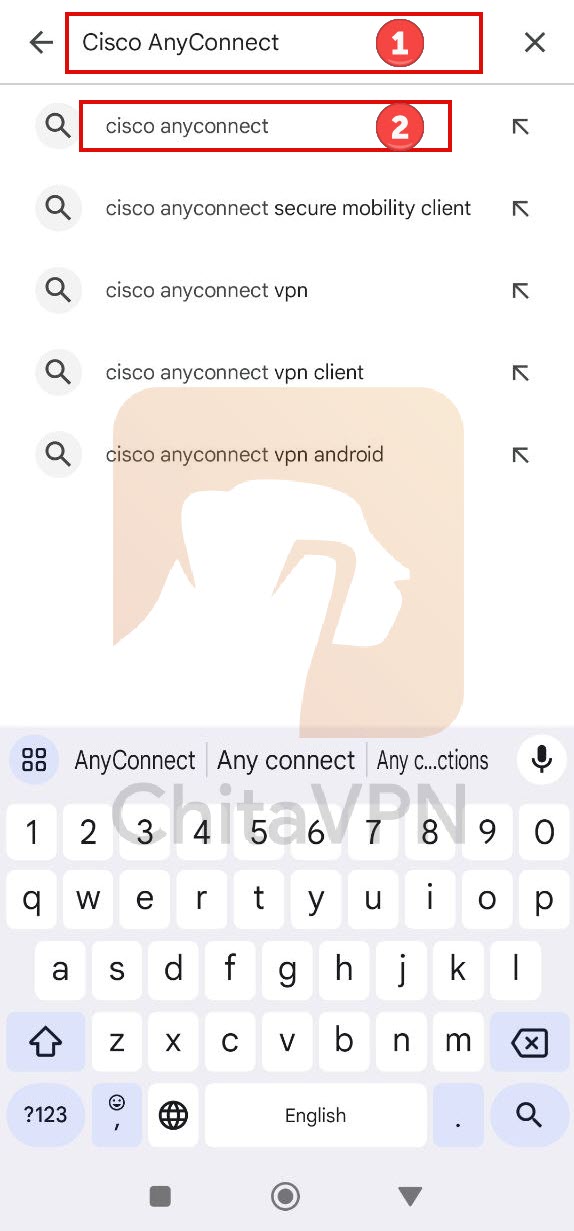
1. Open the Google Play Store on your Android device, then search for "Cisco AnyConnect" in the search bar.
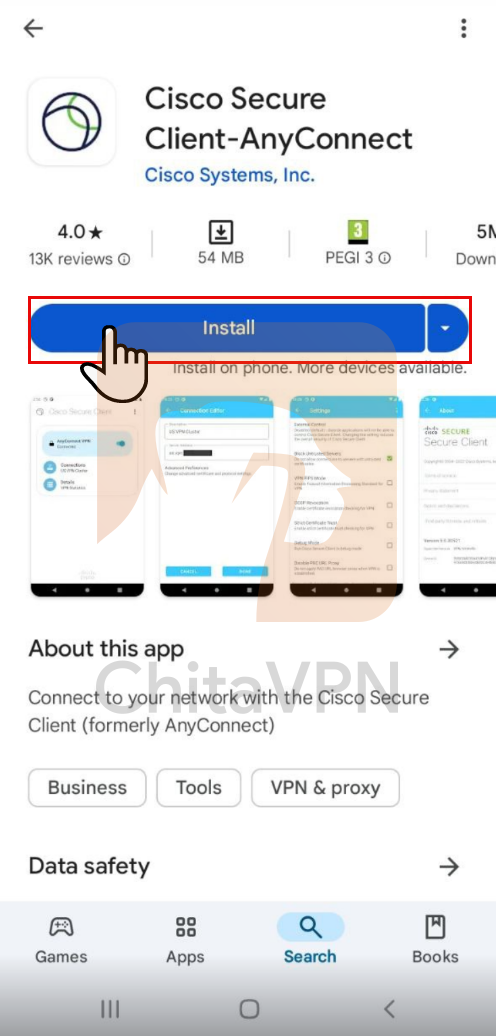
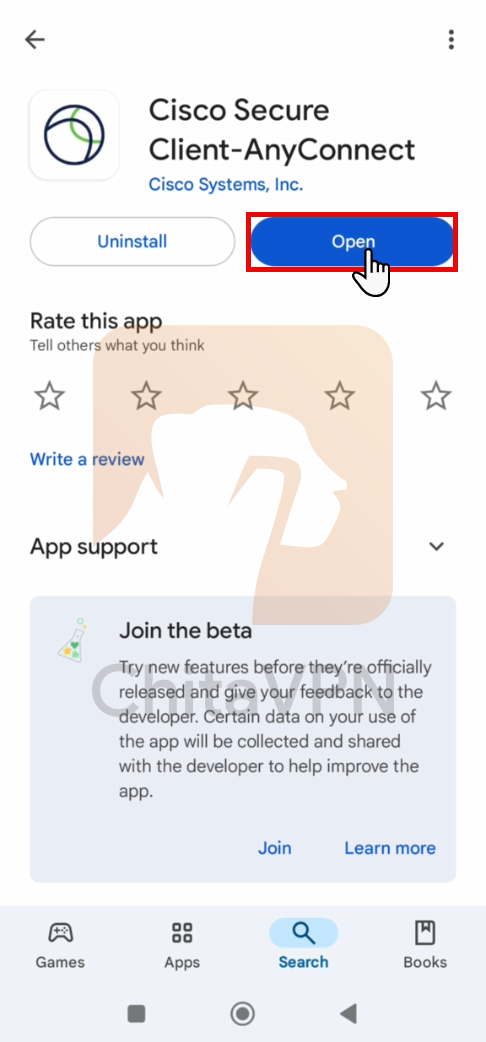
2. Click on the "Install" button to begin the installation process. Once the installation is complete, "open" the app to start the setup.
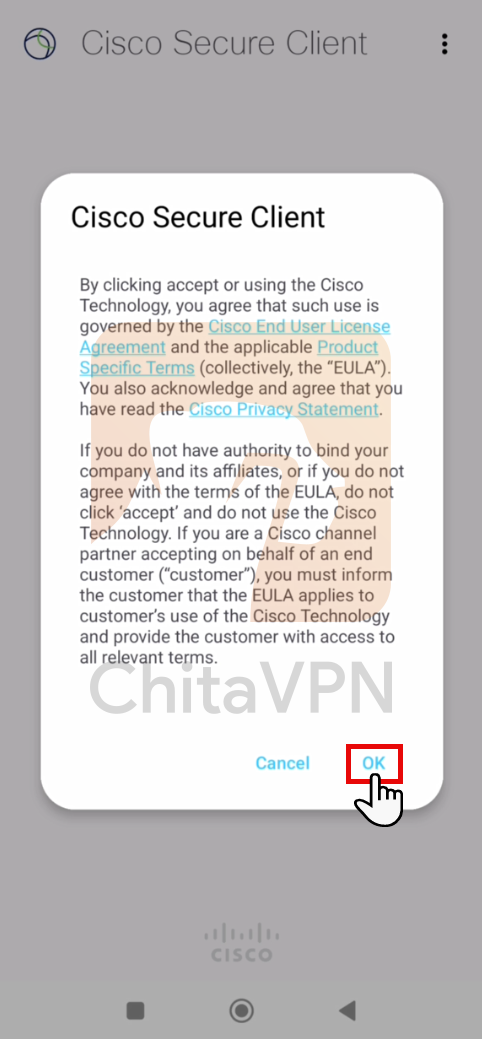
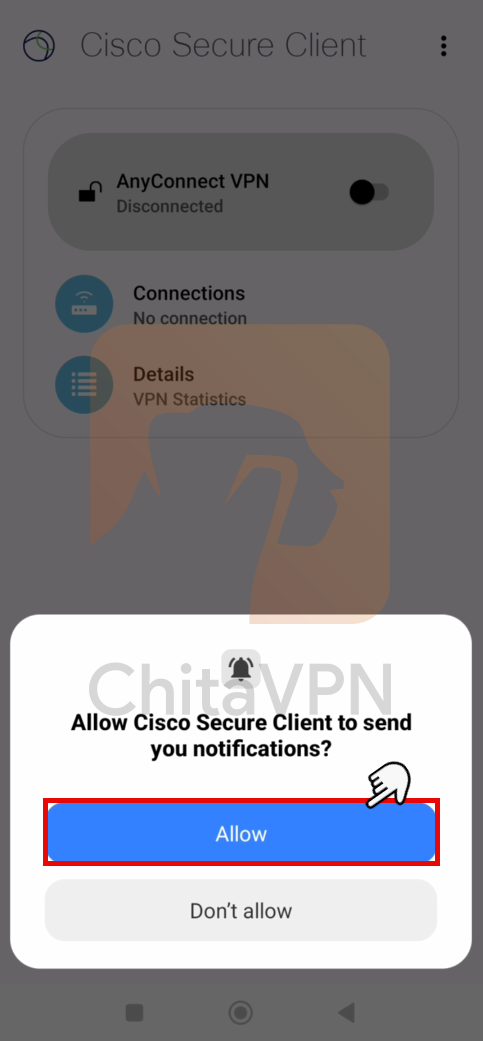
3. Click the "OK" button to accept and grant the necessary permissions to Cisco AnyConnect. Then, click "Allow" to enable notifications for the app.
Add VPN Profile and Connect
To connect to Cisco AnyConnect, you need a ChitaVPN subscription. Sign up now!
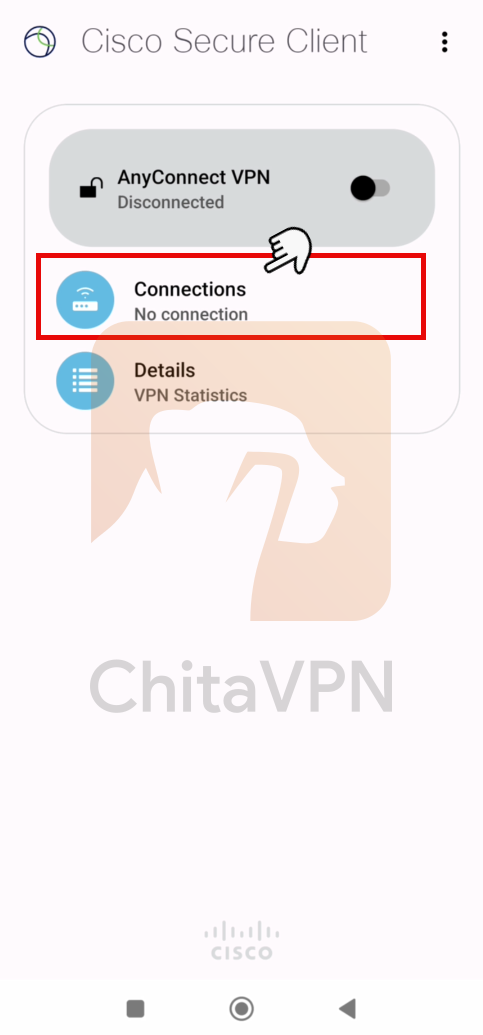
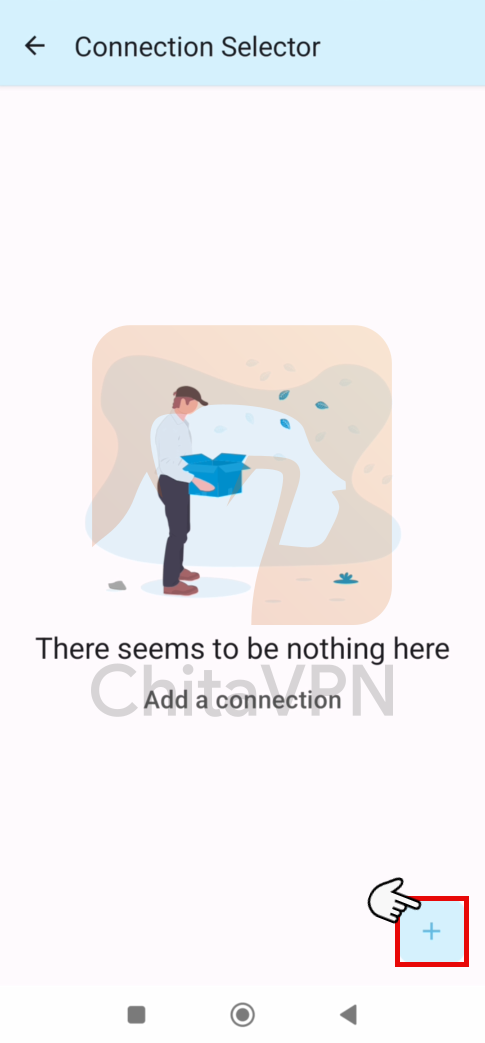
1. Go to the "Connections" tab in the Cisco AnyConnect app. After that, tap on the "Plus Button" or " ( + ) "option to set up a new VPN connection.
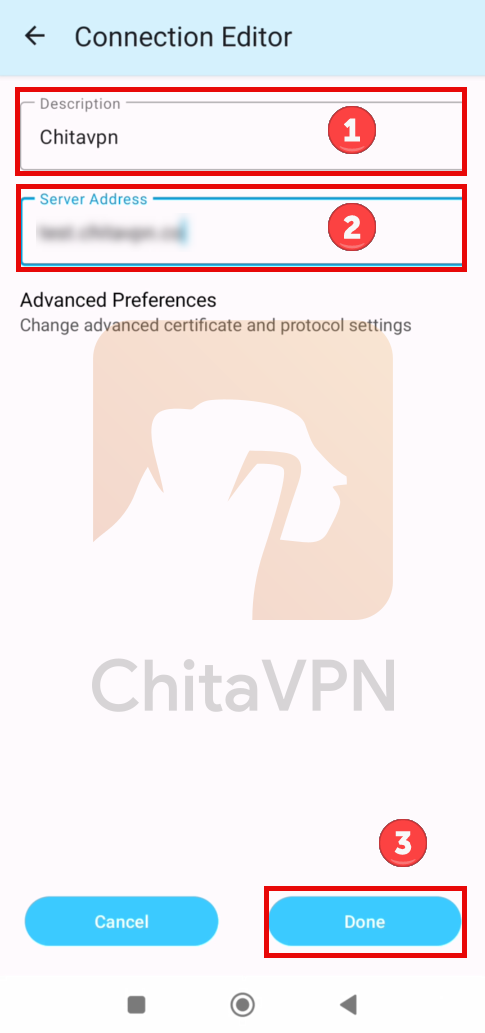
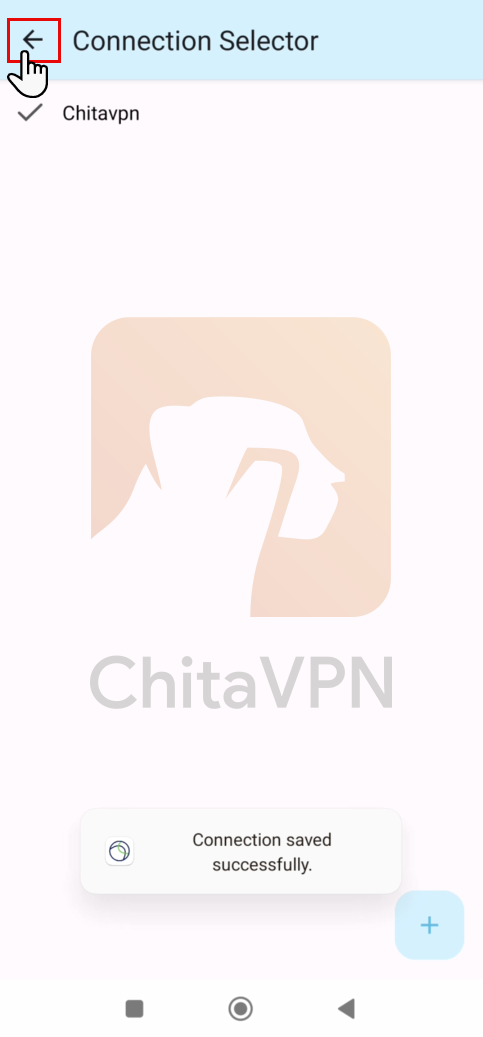
2. Enter a name for your VPN profile, add the ChitaVPN server address, and click "Done" to add the connection, then click on the "Back Arrow" to return to the main menu.
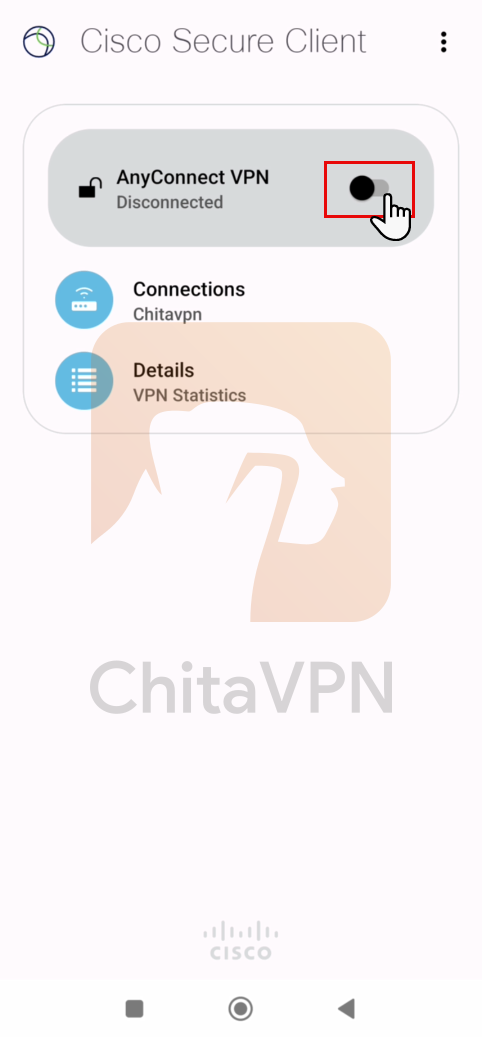
3. Click on the "AnyConnect VPN button" to turn the VPN connection on.
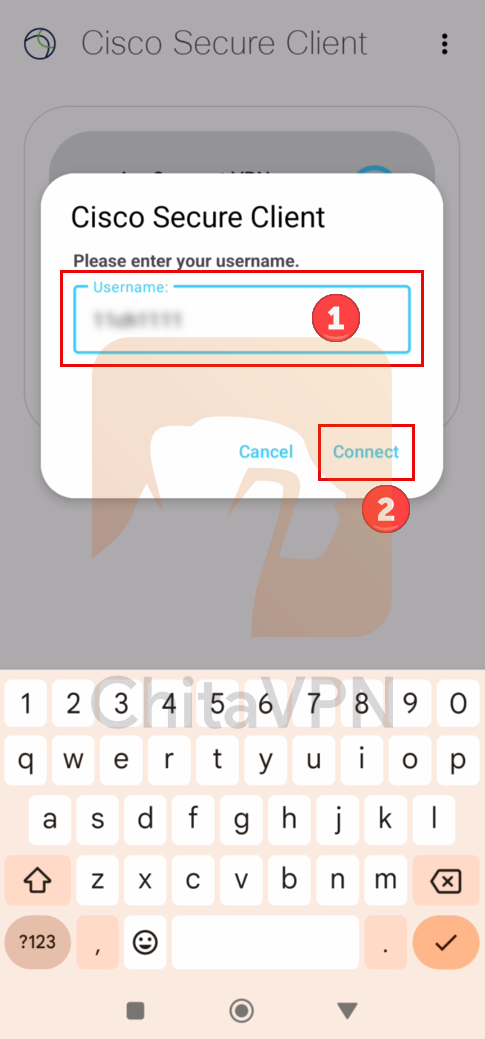
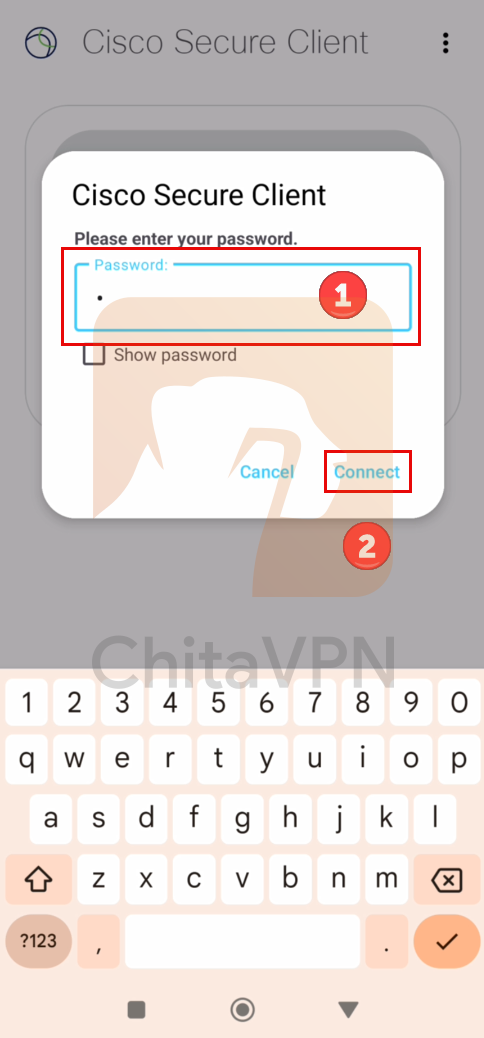
4. First, enter your Username and click "Connect." Then, enter your Password and click "Connect" again to establish the connection.
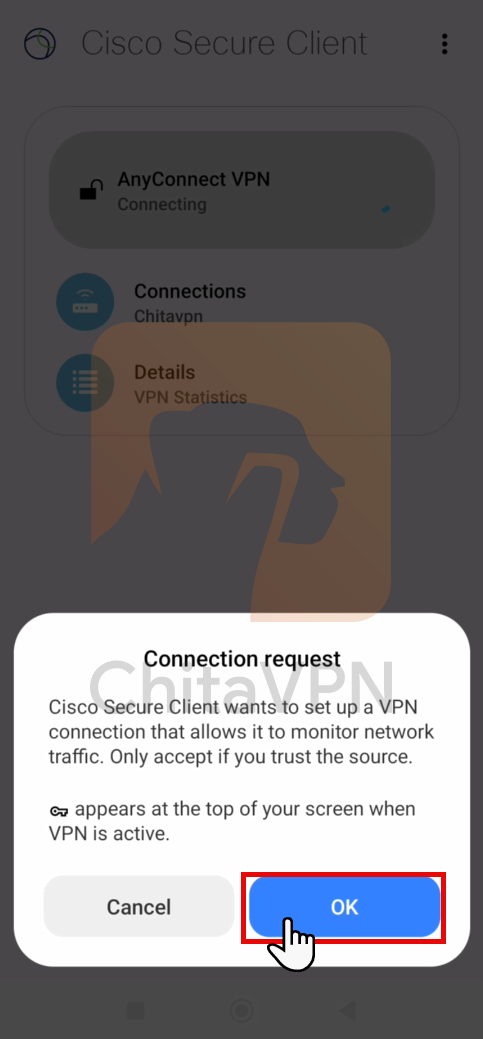
5. Click "OK" to confirm the connection request and proceed with the VPN setup.
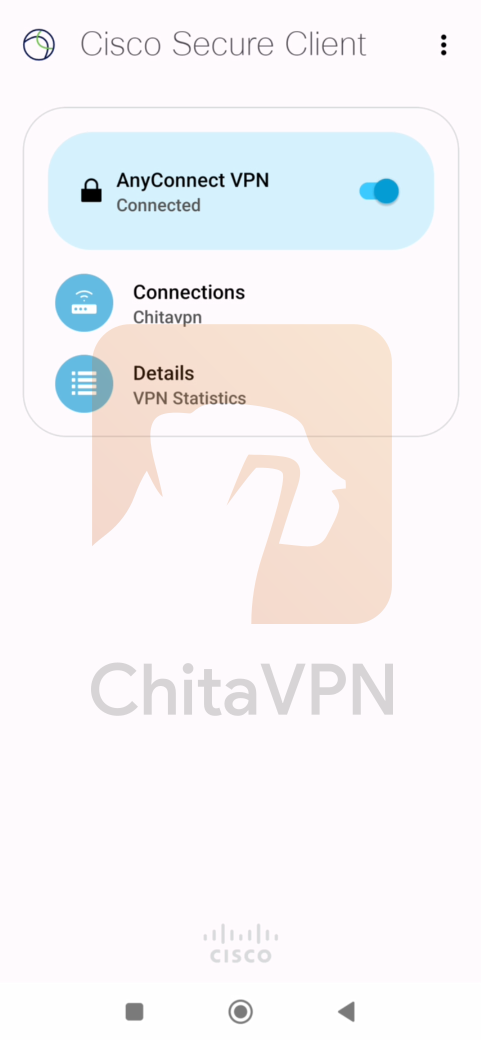
6. When you see this screen, it means you are successfully "Connected" to the ChitaVPN servers.
Stay Secure with ChitaVPN and Cisco AnyConnect
You’re all set! Enjoy a safe and seamless connection with ChitaVPN and Cisco AnyConnect, keeping your data secure wherever you go.
